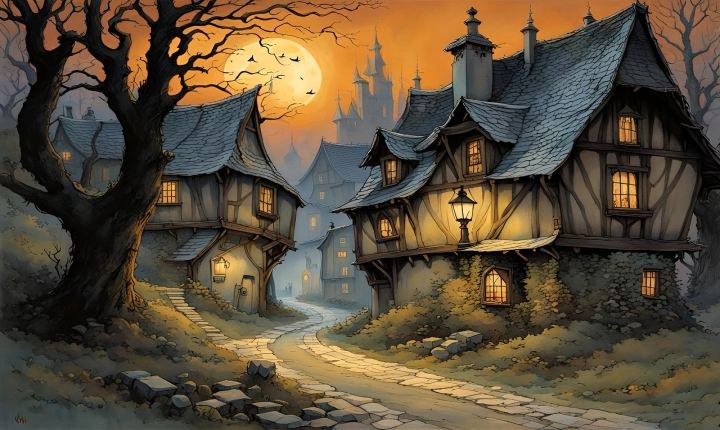
Creating an AI photo has become increasingly popular in recent years, with advancements in technology making the process more accessible and user-friendly. AI photography involves using artificial intelligence software to enhance and manipulate digital images, allowing users to create stunning, one-of-a-kind photos. If you’re interested in trying your hand at AI photography, here are some helpful tips to get you started.
Choose the Right Software
The first step in creating an AI photo is to choose the right software for your needs. There are many options available, each with its own set of features and capabilities. Some popular choices include Adobe Photoshop, GIMP, and Luminar AI. These programs offer a range of tools and filters designed to enhance and modify digital images, making them ideal for AI photography projects.
Understand the Basics
Before jumping into the world of AI photography, it’s important to understand the basics of digital image editing. Familiarize yourself with concepts such as layers, masks, and blending modes, as these will form the foundation of your AI photo creation process. Additionally, explore the various tools and filters available within your chosen software, and experiment with different effects to understand their impact on your images.
Start with a High-Quality Image
The quality of your source image will greatly impact the final outcome of your AI photo. When selecting an image to work with, choose one that is well-composed, properly exposed, and free of any major imperfections. High-resolution images will also provide more flexibility when applying AI enhancements and manipulations.
Experiment with AI Filters and Effects
Once you have a suitable image to work with, it’s time to start experimenting with AI filters and effects. Many AI photography software programs offer a wide range of pre-set filters and effects, allowing you to instantly transform your images with just a few clicks. From enhancing color and contrast to adding artistic effects and textures, the possibilities are nearly endless.
Be Creative and Experimental
The key to creating captivating AI photos is to be creative and experimental with your edits. Don’t be afraid to push the boundaries and try new techniques, as this is often where the most interesting and unique results can be found. Consider combining multiple filters and effects, adjusting blending modes, and applying adjustments to specific areas of your image to achieve the desired look.
Refine and Fine-Tune
Once you’ve applied your chosen AI filters and effects, take the time to fine-tune and refine your image. Pay attention to details such as sharpness, noise reduction, and overall composition to ensure a polished final result. Consider making adjustments to color balance, exposure, and saturation to further enhance the visual impact of your AI photo.
Save and Share Your Masterpiece
After you’ve completed your AI photo creation, don’t forget to save your work in a high-quality format to preserve all your hard work. Whether you choose to share your masterpiece with friends and family on social media or display it in a print format, be proud of your creation and the skills you’ve developed in the world of AI photography.
In conclusion, AI photography offers a wealth of opportunities for creative expression and visual storytelling. By choosing the right software, understanding the basics of digital image editing, starting with a high-quality image, experimenting with AI filters and effects, being creative and experimental, refining and fine-tuning, and saving and sharing your masterpiece, you can unlock the full potential of AI photo creation and elevate your photography to new heights. So, grab your camera and start exploring the exciting world of AI photography today!
