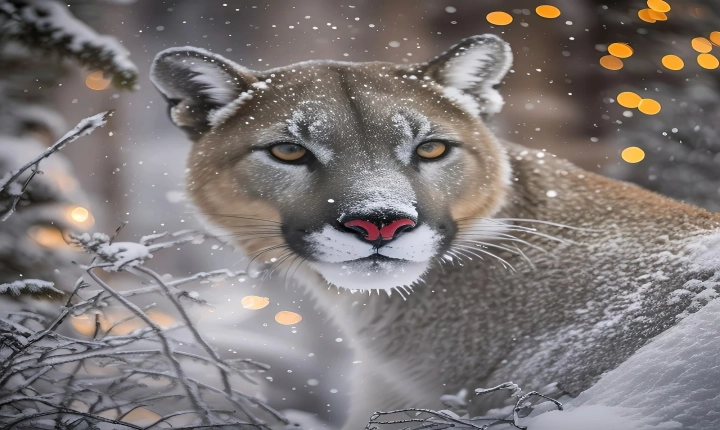
Converting images to grayscale is a common task in graphic design and is easily achievable using Adobe Illustrator. Grayscale images can simplify the visual complexity, enhance details, and evoke a nostalgic or classic feel. Whether you are a seasoned designer or a beginner, knowing how to convert images to grayscale in Adobe Illustrator can be a valuable skill. In this article, we will discuss the step-by-step process of converting images to grayscale in Adobe Illustrator.
Step 1: Open the Image in Adobe Illustrator
First, open Adobe Illustrator on your computer and create a new document. Then, click on “File” and select “Place” to import the image that you want to convert to grayscale. This will embed the image into your Illustrator document and make it ready for manipulation.
Step 2: Select the Image
Use the Selection Tool (V) to click on the image and select it. This will activate the image and allow you to apply changes to it.
Step 3: Apply the Grayscale Color Mode
With the image selected, go to the “Edit” menu and choose “Edit Colors”. Then, select “Convert to Grayscale”. Alternatively, you can go to “Image Trace” and select “High Fidelity Photo” to convert the image to grayscale.
Step 4: Adjust Gamma and Threshold (Optional)
If you want to fine-tune the grayscale conversion, you can adjust the gamma and threshold settings. This can be done by going to “Image Trace” and clicking on the “Advanced” options to make adjustments based on your preference.
Step 5: Save the Grayscale Image
Once you are satisfied with the grayscale conversion, you can save the image by clicking on “File” and selecting “Save As”. Choose the desired file format and location to save the grayscale image.
Benefits of Converting Images to Grayscale in Adobe Illustrator
Converting images to grayscale in Adobe Illustrator offers several benefits. Firstly, it simplifies the visual complexity of the image, allowing the viewer to focus on the details and composition without the distraction of color. Additionally, grayscale images can evoke a timeless and classic aesthetic, making them suitable for various design projects such as vintage posters, editorial illustrations, or black and white photography.
Furthermore, converting images to grayscale in Adobe Illustrator provides greater flexibility and control over the final output. You can easily fine-tune the grayscale conversion by adjusting the gamma and threshold settings to achieve the desired tonal range and contrast.
In conclusion, converting images to grayscale in Adobe Illustrator is a straightforward process that can enhance the visual impact of your design projects. By following the step-by-step guide outlined in this article, you can effectively convert color images to grayscale, unlocking new creative possibilities and achieving compelling design outcomes. Whether you are a designer, illustrator, or photographer, mastering this technique can add depth and dimension to your visual creations.
