Title: How to Create AI Portraits: A Step-by-Step Guide
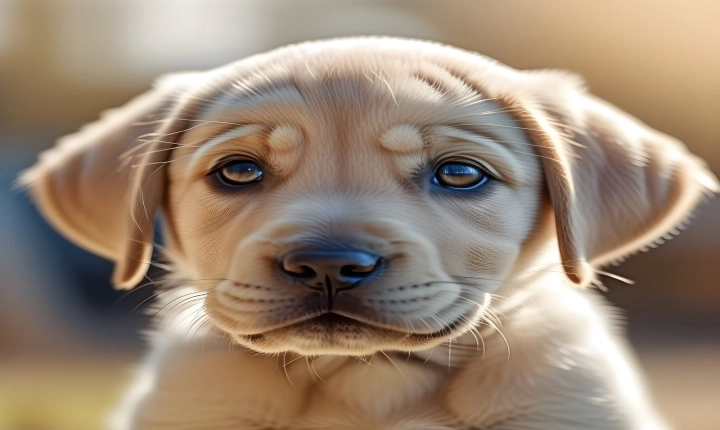
In recent years, the use of artificial intelligence (AI) in creating portraits has gained immense popularity. AI has the ability to generate hyper-realistic digital portraits that mimic human creativity and style, making it an intriguing tool for artists, photographers, and enthusiasts. For those interested in venturing into this fascinating realm, creating AI portraits can be a fun and rewarding experience. In this article, we will explore the steps involved in creating AI portraits and provide tips for achieving stunning results.
Step 1: Choose the Right AI Tool
The first step in creating AI portraits is to select the appropriate AI tool. There are various AI-powered platforms and software available that specialize in generating portraits. Some popular options include DeepArt, Runway ML, and Artbreeder, each offering unique features and capabilities. It’s important to research and compare these tools to find the one that best suits your creative vision and technical proficiency.
Step 2: Prepare the Input
Once you have selected an AI tool, the next step is to prepare the input for generating the portrait. This usually involves providing an initial image or reference to serve as the basis for the AI to work its magic. The input image can be a photograph, a scanned drawing, or any visual reference that you want the AI to interpret and transform into a portrait. It’s advisable to choose a high-quality and well-composed input to ensure the best results.
Step 3: Customize Parameters
Many AI tools allow users to customize various parameters to tailor the output to their desired style. These parameters may include adjusting facial features, adding or removing elements, changing the color palette, and applying artistic filters. Experimenting with these parameters can significantly impact the final portrait’s aesthetic and give it a unique and personalized touch. Take your time to explore different settings and find the combination that best reflects your artistic vision.
Step 4: Refine and Enhance
After generating the initial AI portrait, it’s essential to refine and enhance it further. This can involve using photo editing software to perform additional adjustments, such as fine-tuning the lighting, contrast, and details. You can also experiment with adding digital effects, textures, or other creative elements to elevate the portrait to a new level of visual appeal. The goal is to refine the AI-generated portrait and make it more polished and compelling.
Step 5: Experiment and Iterate
Creating AI portraits is an iterative process, and it’s important to embrace experimentation and iteration. Don’t be afraid to try different input images, explore various AI tools, and experiment with diverse styles and techniques. Each iteration can lead to new discoveries and refinements that contribute to the evolution of your artistic practice. Embracing this iterative approach allows for continuous growth and improvement in creating stunning AI portraits.
In conclusion, creating AI portraits is an exciting and accessible way to harness the power of artificial intelligence for artistic expression. By following the steps outlined in this guide and leveraging the capabilities of AI tools, enthusiasts and artists can produce captivating and visually striking portraits. The key lies in selecting the right AI tool, preparing the input effectively, customizing parameters, refining the output, and embracing experimentation. With dedication and creativity, the possibilities for creating AI portraits are endless, offering an avenue for boundless artistic exploration and expression.
