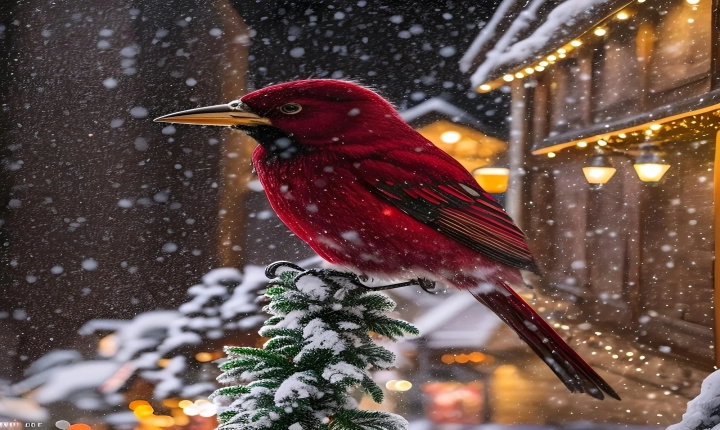
Title: A Step-by-Step Guide to Generating AI Pictures
In recent years, artificial intelligence (AI) has made remarkable strides in the field of generating realistic images. With the development of advanced algorithms and machine learning models, it has become possible to create stunning visuals that are virtually indistinguishable from real photographs. This technology has numerous applications, from creating artwork and graphics to assisting in medical imaging and enhancing photography.
If you’re curious about how to generate AI pictures, here’s a step-by-step guide to help you get started:
Step 1: Choose a Platform or Tool
There are several platforms and tools available for generating AI pictures, each with its unique features and capabilities. Some popular options include Google’s DeepDream, NVIDIA’s StyleGAN, and OpenAI’s DALL·E. It’s essential to research and select a platform that aligns with your specific goals and interests.
Step 2: Collect and Prepare Data
To train an AI model for generating pictures, you’ll need a substantial amount of high-quality data. This may include photos, artworks, or any other visual content relevant to your project. It’s crucial to ensure that the data is correctly labeled and organized to facilitate the training process.
Step 3: Train the AI Model
Once you have the necessary data, you’ll need to train the AI model using a deep learning framework such as TensorFlow or PyTorch. This involves feeding the model with the collected data and iteratively adjusting its parameters to improve its ability to generate realistic images. Training an AI model can be computationally intensive, so it’s essential to have access to sufficient computing resources, such as GPUs or cloud-based services.
Step 4: Fine-tune the Model
After the initial training phase, you may need to fine-tune the AI model to enhance its performance and address any specific requirements of your project. This could involve adjusting the model’s architecture, refining its training data, or incorporating additional techniques such as style transfer or image augmentation.
Step 5: Generate Images
Once your AI model has been trained and fine-tuned, you can start generating images based on specific input parameters or prompts. Depending on the capabilities of the AI model, you may be able to manipulate various aspects of the generated images, such as style, content, or composition.
Step 6: Evaluate and Refine
After generating images, it’s crucial to evaluate their quality and realism. This may involve using metrics such as perceptual similarity, diversity, and visual coherence. Based on the evaluation, you can refine the AI model further, iterate on the training process, or fine-tune specific parameters to achieve better results.
Step 7: Explore Applications
Once you have successfully generated AI pictures, you can explore various applications for this technology. This could include creating artwork, generating visuals for design projects, or even using AI-generated images in scientific research and medical imaging.
In conclusion, generating AI pictures is a fascinating process that combines art, science, and technology. By following the steps outlined in this guide, you can embark on a journey to explore the capabilities of AI and unleash your creativity in generating stunning visual content. As AI continues to advance, the possibilities for generating lifelike images are boundless, opening up exciting new frontiers in the world of digital art and visual communication.
