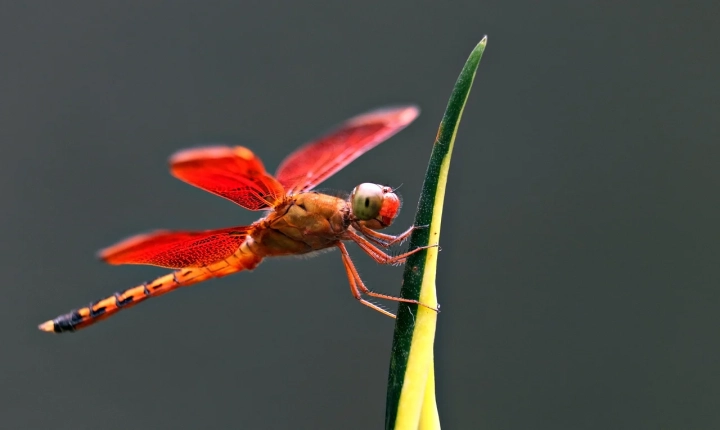
If you’re interested in enhancing your AI-generated images, one great way to do so is by taking your AI creations to Photoshop for further editing and refinement. With the powerful editing tools and capabilities of Photoshop, you can take your AI-generated images to the next level, making them even more visually stunning and polished. In this article, we’ll explore the process of taking an AI-generated image to Photoshop and how to make the most of this powerful combination.
Step 1: Generate the AI Image
The first step is to generate an image using an AI image generator. There are several platforms and tools available that can produce stunning AI-generated images, such as deep learning-based image generators and generative adversarial networks (GANs). Once you have your AI-generated image, save it to your computer or device.
Step 2: Import the Image into Photoshop
Next, open Adobe Photoshop and import the AI-generated image. You can do this by clicking on “File” in the top menu, then selecting “Open” and browsing to the location where you saved the AI-generated image. Alternatively, you can simply drag and drop the image file directly into the Photoshop workspace.
Step 3: Enhance the Image with Photoshop Tools
Once the AI-generated image is imported into Photoshop, you can begin to enhance and refine it using the various tools and features available in Photoshop. Some of the key tools to consider using include:
– Adjustment Layers: Use adjustment layers to adjust the brightness, contrast, color balance, and other aspects of the image to achieve the desired look and feel.
– Filters: Apply various filters to add artistic effects, sharpen the image, blur parts of it, or distort it in creative ways.
– Retouching Tools: Use retouching tools such as the Clone Stamp, Healing Brush, and Spot Healing Brush to remove any imperfections or unwanted elements from the image.
– Layer Masks: Use layer masks to selectively apply effects or adjustments to specific areas of the image, allowing for precise editing and control.
– Text and Graphics: If desired, you can add text, shapes, or other graphics to the image to further customize it.
Step 4: Save and Export the Image
Once you are satisfied with the edits and enhancements made in Photoshop, it’s time to save and export the final image. You can choose to save the image in various file formats, such as JPEG, PNG, or TIFF, depending on your intended use for the image. Additionally, you can specify the image quality and compression settings when saving the file to ensure optimal results.
Taking an AI-generated image to Photoshop for further editing and refinement can truly elevate the visual impact and quality of the image. By leveraging the powerful tools and capabilities of Photoshop, you can unleash your creativity and transform AI-generated images into polished, professional-looking visual assets. Whether you are creating digital art, enhancing photographs, or designing graphics, the combination of AI and Photoshop offers endless possibilities for creativity and expression.
